Saturday 10 December 2016

End of Holiday in the Lakes

Last bit of film dev, then go home. Sad smile
IMG_1873
Same as usual, Shanghai Pan 100, Rodinal, Ilford Fixer, RA50.
IMG_1876
Cool.
IMG_1879
Wash the tank and leave to dry. Then start packing up. Sad smile

Thursday 8 December 2016

More Film Dev and Field Camera


Developed some more film whilst at the hotel and then went out to take some photos of a nearby Stone Circle.

IMG_1857

I used the wooden sheet film case that I made recently to store my film. Smile I loaded up the dev tank in the dark and reloaded the double dark slides with Shanghai Pan 100 (aka GP3) sheet film.

IMG_1859

Did the development in the bath room – Rodinal 1:49 dilution, Ilford Rapid Fixer, RA50 wetting agent.

IMG_1862

I developed the photos from Blea Tarn (field camera and pinhole camera).

IMG_1864

The dev photos I put on Instagram went down well. Winking smile

IMG_1869

Then went to Castlerigg Stone Circle with a boot full of photography equipment.

IMG_1865

And took some photos with the pinhole cameras and the 4x5 field camera.

Tuesday 6 December 2016

Blea Tarn

Haven’t used the 4x5 field camera in a while. It’s a Jungwoo 45, with a D.O. Industries 150mm f5.6 Navitar lens in a Copal 0 shutter.
IMG_1831
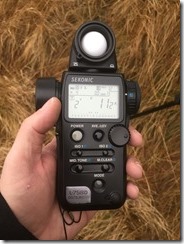
I used a Sekonic light meter. This meter is a little pricey, but it’s awesome.
IMG_1830
I’m shooting my usual staple for 4x5 – Shanghai Pan 100 (aka GP3 – though GP3 is only really the name for this film when it’s sold in 120 format as far as I understand). I like shooting 2 stops down from wide open, which in this case is f/11. This gives a 2s exposure.
IMG_1832
With reciprocity taken into account, that comes out at 8s.
IMG_1834
The tarn was like glass – there was no wind at all.

Developing Film in a Hotel…

…whilst on holiday.
IMG_1826
Three sheets of Shanghai Pan 100 (aka GP3) 4x5 film loaded in the SP-445 dev tank. Using Rodinal at 1:49 dilution and Ilford Rapid Fixer.
IMG_1827
The ‘Massive Dev Chat’ app is awesome.
IMG_1829
Three (two from my field camera, one from my 4x5 pinhole camera) negatives drying on the edge of the bath. Smile

Monday 5 December 2016

Pinholes in Scotland

Did a day trip to Scotland whilst I was on holiday in the Lake District.

IMG_1803

The 8x10 setup on a tidal loch. There was no where to place the tent pegs, so I had to tie the guy ropes around rocks. There was no wind, so hopefully there will be no blur.

IMG_1800

The 8x10 has an effective aperture of f/400. This gives an exposure time of 10s.

IMG_1801

I should really add the exposure compensation in the reciprocity app (and I should take the screen shot before the timer counts down too). I metered at ISO 50 which is why there’s no compensation showing. The adjusted exposure for reciprocity is 33s.

IMG_1810

Next I move on to the 4x5 camera. I wanted to get a similar photo to the one from the 8x10 so I can get a feel for the sharpness, field of view, etc between the two cameras.

IMG_1806

The 4x5 has an effective aperture of f/200. This gives an exposure time of 5s.

IMG_1807

Again, I metered at ISO 50 instead of ISO 100, so the meter reading already has +1 stop of exposure compensation. Taking reciprocity into account gives 11s of exposure.
Thursday 1 December 2016

Making a Wooden Box for my 4x5 Film

I wanted a small wooden box to hold two packs of Shanghai Pan 100 sheet film. I had some nice beech hardwood that I could use.
IMG_1720
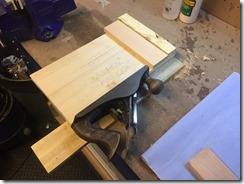
Using the ‘shooting board’ and plane to make the ends square. I planned to use use butt joints for this as I am about to go on holiday and I want to take the finished box with me.
IMG_1723
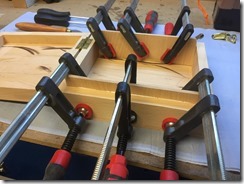
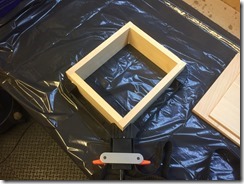
Quick glue up using a box clamp.
IMG_1725
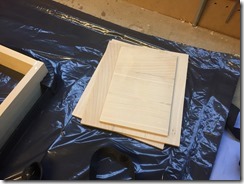
Some boards I had previously glued up for a different project that went nowhere. These would be the top and bottom of the box.
IMG_1726
The boards glued on the top and bottom and a heavy weight added. In the future I will use clamps, as this didn’t work so well. Sad smile
IMG_1742
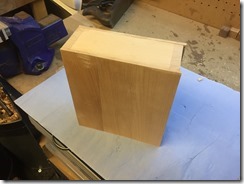
Closed box with oversized edges. Next to trim down the edges, then cut the box open.
IMG_1747
I used a little wooden block plane to trim the boards down to size, along with a sander when close.
IMG_1751
Looking good so far. Smile
IMG_1753
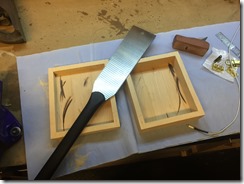
Carefully cutting the box open by hand.
IMG_1754
Success!
IMG_1756
Gluing little pieces in to held keep the lid in the right place as the box closes. This will also help the clasp align.
IMG_1757
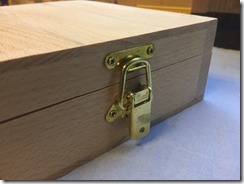
The clasp I plan to use.
IMG_1766
Hinges and clasp fitted.
IMG_1767
The shut line is a little uneven Sad smile
IMG_1769
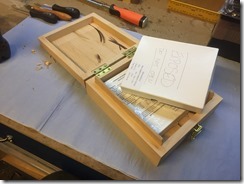
But the two boxes of film fit like a charm Smile
IMG_1776
I adjusted the hinges a bit to get a better shut line, then gave it a nice coat of bee’s wax furniture polish. Job done.